Industrial Safety Protocols: Preventing Kickback on Commercial Table Saws
"The table saw remains an indispensable but dangerous tool in commercial woodworking. This guide, written by Allwood Machinery's safety team (45 years experience), outlines the advanced protocols and machine features (e.g., proper riving knife installation) necessary to meet industrial safety standards and prevent kickback in high-volume settings."
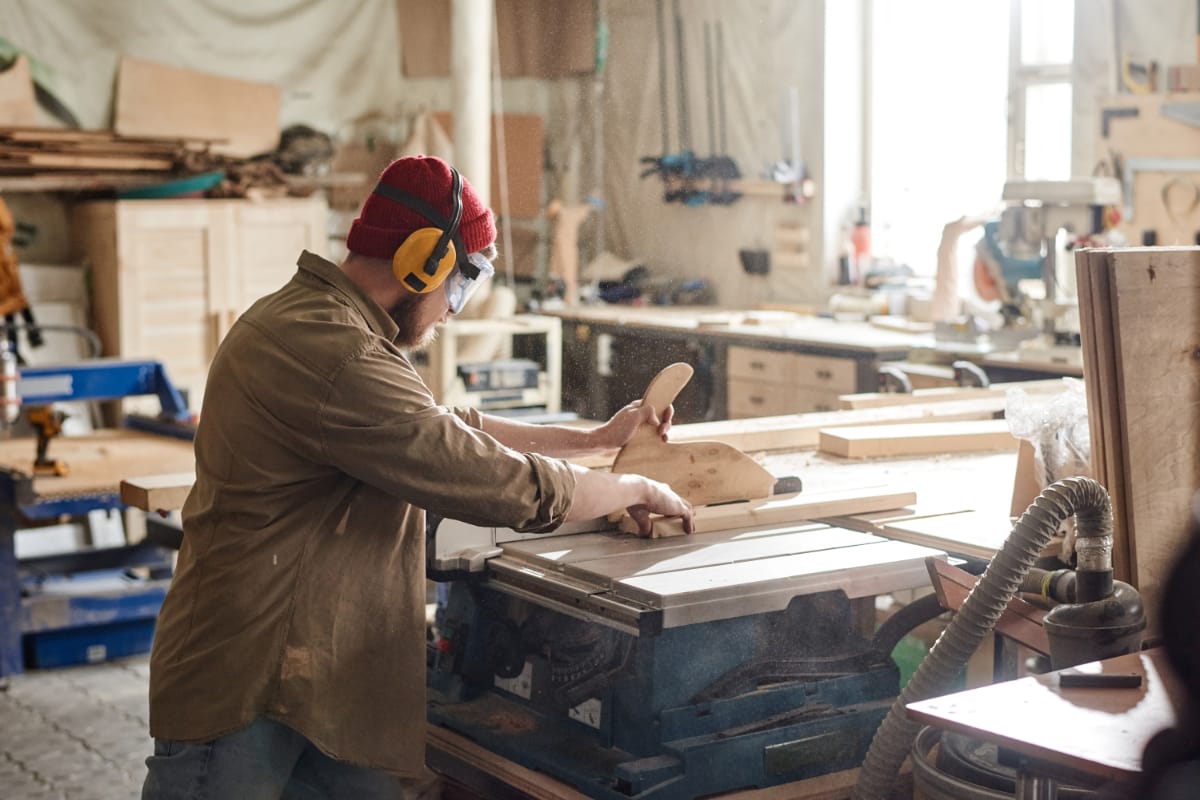
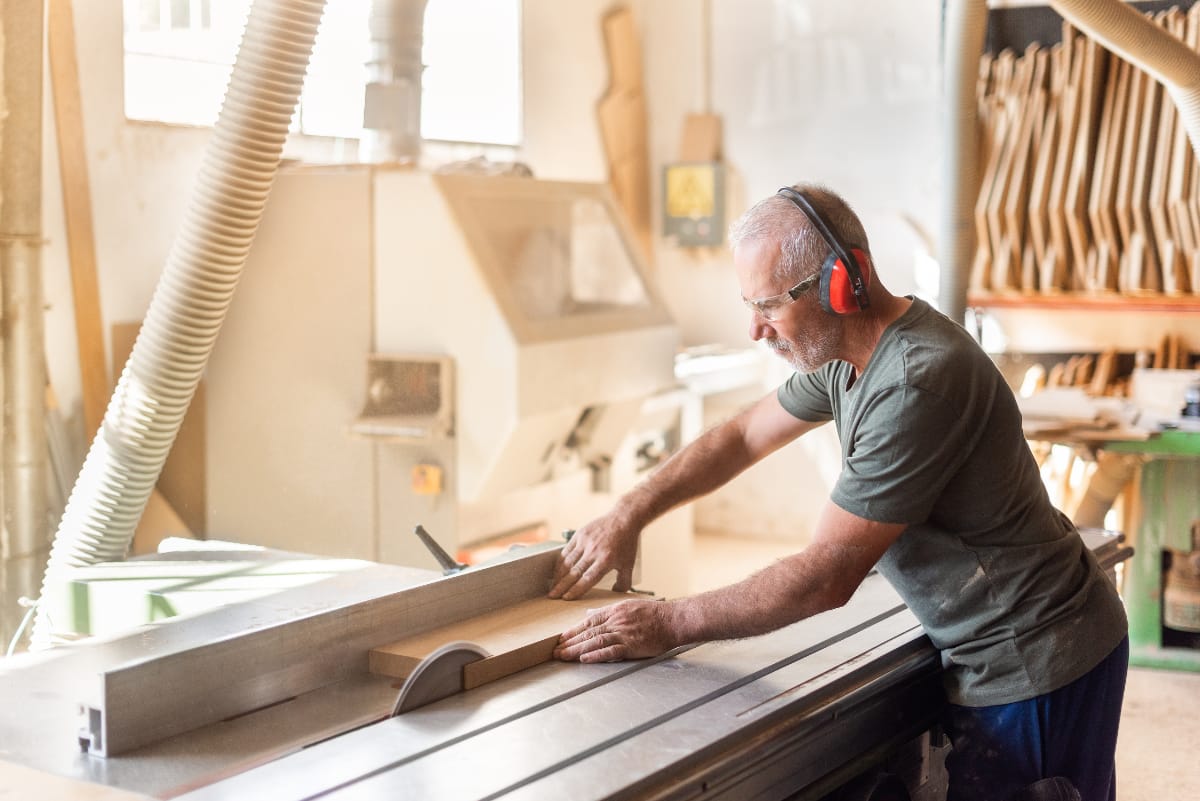
Here are some fundamental safety tips to help prevent kickback when using a table saw.
If you ask all of your woodworking friends, you'll find most of them if not all have experienced kickback at one time or another. Kickback is where the wood being cut flies back at the operator, causing them serious injury or damage to property.
The table saw is one of the most dangerous woodworking tools in a workshop, but with a few fundamental rules to follow it could become one of the safest.
It's not just novices that have to be careful, kickback can happen to the most experienced woodworker as well. Kickback can be a product of both through and non-through cuts. Once it starts you can't stop it. The kickback zone can actually be anywhere in the workshop. The most dangerous place to be is where the operator works, which is directly in front of the blade. But a kicked item can ricochet off something and head in any direction as well as pivot sideways.
If you don't know the reason why kickback happens, keep reading to find out...
The mechanics of kickback
The teeth in the saw lift the wood up, then pushes it forward, then downwards.
Kickback happens when a piece of wood is unexpectedly thrown back towards the operator. The lifting and throwing force of the kickback starts at the back of the blade, not the front.
If you really want to understand how this force is created, simply unplug your saw and keep an eye on one tooth while you rotate the blade where it just starts to rise above the table at the back of your saw's throat plate.
By following one tooth as it rotates it will give you a better idea of how a piece of wood is lifted and thrown forward.
As an example if you use a disc sander to sand a block of wood, push a bit of wood into the side that has downward momentum and you'll find the wood is pulled downwards. If you move the wood to the other side of the disk where the sand paper has upward momentum the block of wood will be pulled upwards and quite possibly out of your hand. A table saw blade works in a similar fashion.
The causes of kickback
Now you can see that kickback happens at the back of the blade, next we will discuss the series of events that can cause the stock to contact the back of the blade.
The most common cause is binding or pinching, which happens when a piece of wood becomes trapped between the rotating blade and a stationary object, such as the fence or the guard.
Here is a list of reasons that the stock can kick back:
- The saw kerf closes around the blade.
- The fence is not parallel to the blade.
- Cutting twisted, distorted, knotty, crooked or springy wood.
- Freehand cutting or cutting wood that is not flat on the table, such as round stock.
- Losing control of the work or letting go of the wood at the same time it's in contact with the saw blade.
- Not following through when ripping, or stopping before the cut is complete.
- Allowing the wood to drop on top or to the side of the back of the blade.
- Backing out of a cut.
- Improper setup of the machine's guards or fixtures.
- Applying the entire pushing force toward the off-fall or free section of the work instead of pushing toward the fence.
The cure for kickback
Use the guard! The best cure for kickback is to deny the wood access to the back of the blade. A splitter, especially a riving knife, is by far the best protection you can give yourself.
Double-check all your setups and plan your cuts carefully. Be aware of all the pinch points or bindings that could be created during any cut and plan your work first.
Although this isn't a complete cure for kickback, there are blades that have anti-kickback fingers behind the teeth to limit the chip or depth of the cut. Even anti-kickback blades do not totally eliminate kickback.
"Our modern press lines incorporate advanced sensors and safety controls to eliminate operator contact. View our range of CE-certified industrial machinery."
Click here to see our Presses
Click here to see our Automated Lines
Need a new machine compliant with the latest HSE/OSHA safety standards? Contact our technical team for a consultation.