Industrial Chair Maintenance & Joinery Standards: A Guide for Commercial Facilities and Manufacturers
In high-traffic commercial environments, from hospitality venues to corporate boardrooms, chair failure isn't just a nuisance; it's a liability. For furniture manufacturers and large-scale maintenance teams, mastering the science of joinery is the difference between a product that lasts a decade and a costly replacement cycle. While chairs are often the most abused assets in a workplace, a professional approach to re-gluing and structural restoration can significantly extend the lifecycle of your inventory.
The Engineering of Chair Joinery: Mortise vs. Dowel
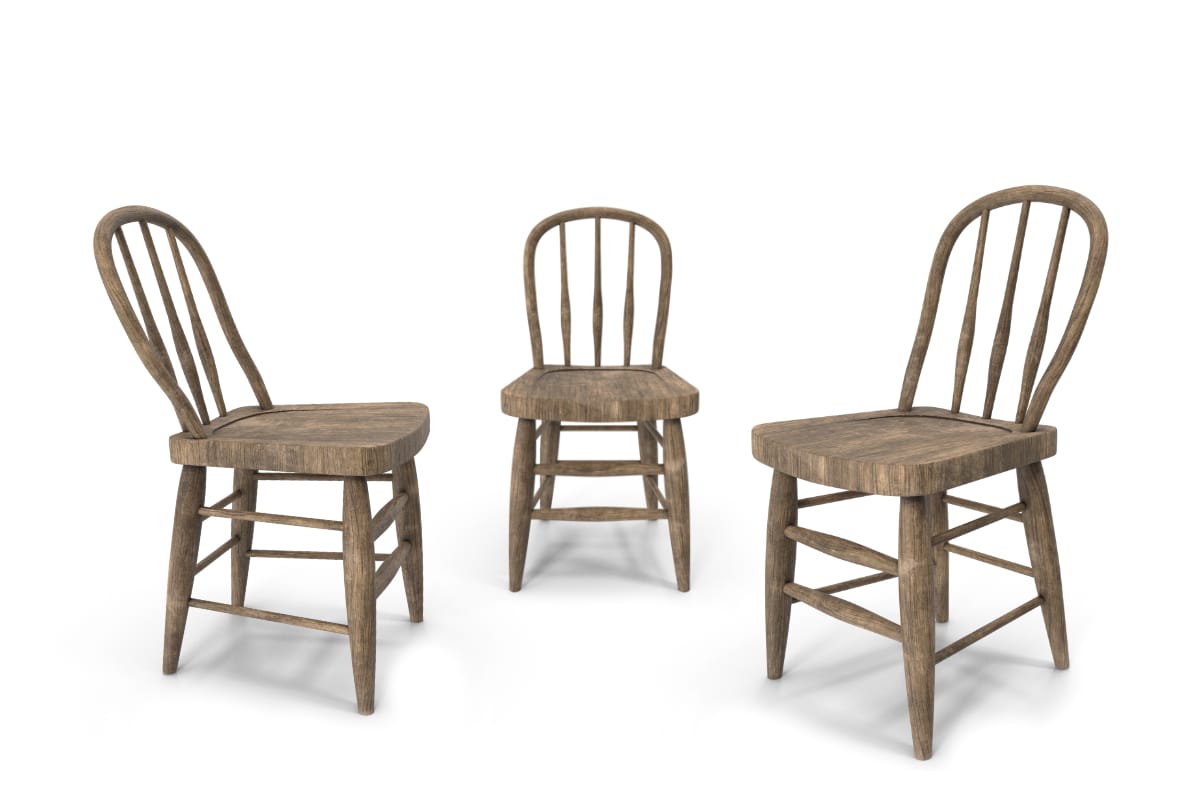
Understanding the structural foundation of your furniture is the first step in industrial maintenance. Commercial straight-backed chairs generally utilise two primary types of joinery:
- Mortise-and-Tenon: A superior, pre-industrial method still utilised by high-end factories for maximum durability.
- Dowel Joinery: A machine-age standard designed for speed and ease of manufacturing.
While doweled joints are faster to produce, they offer significantly less side-grain-to-side-grain glue surface compared to mortise-and-tenon. Consequently, most commercial repairs involve doweled chairs manufactured from the mid-19th century onwards. Although Allwood's does not manufacture tenoners, we do sell refurbished tenoners.
Profession Restoration Philosophy
To maintain commercial safety standards, "quick fixes" such as injecting adhesive into loose joints are insufficient. A professional-grade repair requires total disassembly, cleaning, and the installation of new dowels to ensure the unit remains structural for another decade.
Technical Assessment: Adhesive Analysis
Before beginning restoration, maintenance teams must identify the original bonding agent to determine the correct removal protocol:
- Animal Hide Glue: Historically common; becomes sticky when moisture is applied. These joints can be disassembled using denatured alcohol.
- Modern Adhesives: White/yellow glues, epoxies, or urea-formaldehyde (plastic-resin) are more resistant. These often require hot water soaking or white vinegar to break the bond for scraping.
Precision Disassembly Protocol
- Preparation: Remove all corner blocks, nails, or metal brackets. Note that these devices do not keep joints tight; they only prevent them from falling apart.
- Hardware Removal: Use a 1/8 inch chisel to dig out factory-inserted nails if they cannot be pried loose, as forcing them risks splitting the timber.
- Controlled Impact: Use soft-headed mallets (plastic, rubber, or leather) to knock joints loose without denting the wood.
- Chemical Assistance: If a joint resists, use a syringe to apply denatured alcohol or white vinegar directly into the joinery.
Industrial Joinery Preparation
For a successful bond, you must achieve tight wood-to-wood contact by removing all legacy adhesive. (Note: Hot animal hide glue is the only exception, as it can dissolve and bond with old hide glue).
When replacing dowels, remember the fundamental rule of joinery: wood bonds effectively side-grain-to-side-grain, but poorly on end-grain surfaces. Because the leg-side of a dowel is in contact with end-grain, it is inherently the weakest point. For a full-strength restoration, we recommend replacing all dowels entirely rather than attempting to re-use existing ones.
Reassembly and Quality Control
- Dowel Selection: Use spiral-grooved, chamfered dowels. The grooves increase the available glue surface area, while chamfering (sloping the edges) ensues easier insertion and better glue distribution.
- Adhesive Application: Use a narrow brush to coat both the dowel and the interior of the hole to ensure 100% coverage.
- Squaring the Levelling: During clamping, measure the diagonals from the top of one leg to the bottom of the opposite leg; these must be identical. Ensure all four legs touch a flat surface simultaneously to eliminate rocking before the glue sets.
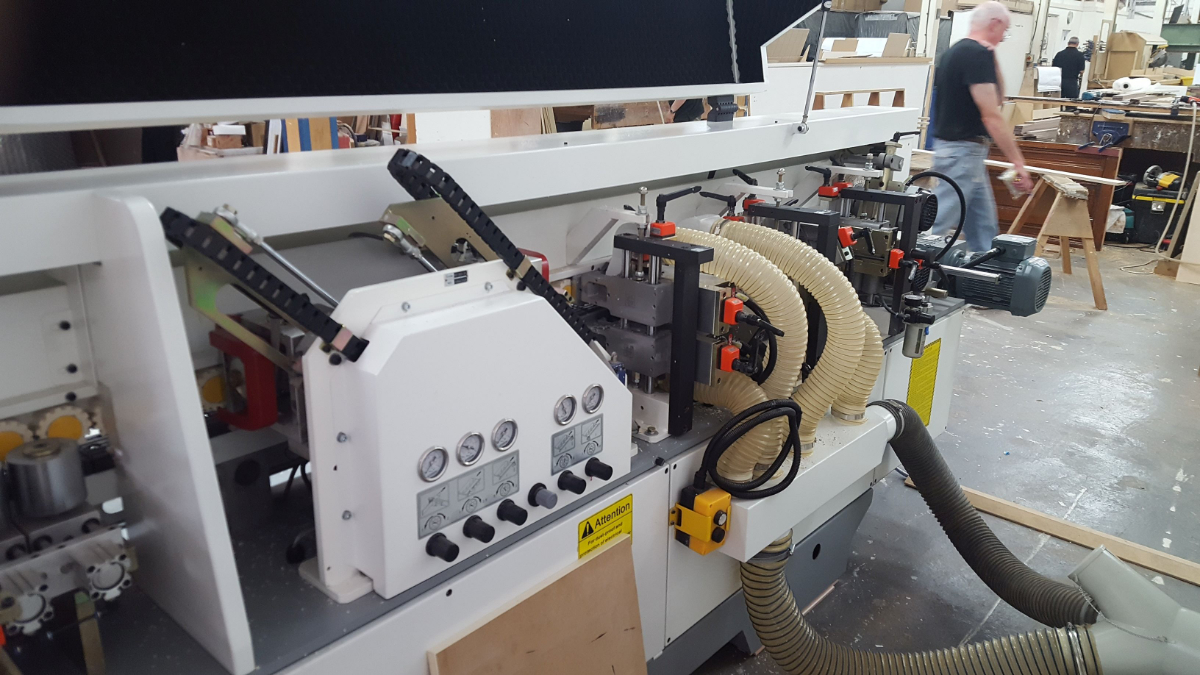
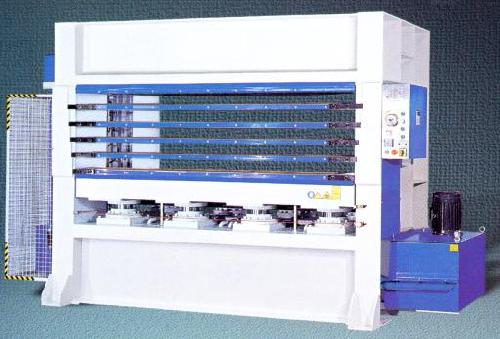
Is your production line meeting modern durability standards? At Allwood, we specialise in helping woodworking business transition from hobbyist methods to industrial-scale efficiency. Whether you need a single high-capacity sanding machine to prepare chamfered joints or a bespoke production line for mass-market furniture, we provide the machinery and the financing to help your business grow.